Showing posts sorted by date for query biscuits. Sort by relevance Show all posts

3.1.18

CHEESE BISCUITS - SAJTOS POGÁCSA

These are the perfect vendégváró, [visitor waiting] little biscuits for formal and informal occasions both. Our girl dropped in after work to spend time with her folks, even though we text and talk every day, this was the first time since Christmas Eve that she had time to sit down with us for the afternoon. Pogácsa seemed like the right choice after all the chocolaty decadence we consumed during the holidays. This recipe is from the brilliant young chef, Farkas Vilmos.

About the yeast:
A 0.6 oz. cake yeast is equivalent to one packet or 2-1/4 tsp dry yeast. [I use instant dry yeast, because it can be mixed into the ingredients without proofing.] Both the cake and the dry yeast will rise up to 4 cups of flour. In this case, the 4 tsp of dry instant yeast will seem like an overkill, however it is necessary to rise the still chilled dough in half an hour. Increasing the time would of course alter the biscuits' texture and appearance. The yeast content combined with the burst of high oven temperature is what makes the biscuits rise to perfection. No, they didn't taste yeasty, they were perfectly delicious!


CHEESE BISCUITS
1 cup butter, room temperature
2 egg yolks 
4 tsp instant dry yeast
1 tsp salt 
1/2 cup full fat [14%] sour cream
2 cups grated hard white cheese [I used Monterey Jack]
1-3/4 cup flour
1 whole egg for egg wash
1/4 cup grated white cheese for topping

  • Cream the butter and the egg yolks until fluffy.
  • Add the dry yeast, salt and the sour cream and stir to combine.
  • Stir in 2 cups of the grated cheese.
  • Finally add the flour.
  • Change to a dough hook and kneed the dough on high speed for 3 to 4 minutes.
  • The dough will be quite shaggy at this point.
  • Line a plate with parchment [so the dough won’t stick to the plate]
  • Scoop the dough out of the bowl and transfer it to the parchment lined plate.
  • Press the dough flat onto the plate, wrap it and put it in the fridge for a couple of hours or even for the night.
  • Place the chilled dough on a floured surface. The dough will be hard but in fifteen minutes it will be soft enough to knead.
  • Meanwhile line a large baking tray with parchment paper.
  • In a small bowl, lightly beat the whole egg.
  • Grate 1/4 cup of hard cheese.
  • Knead the dough until it softens for rolling.
  • Roll the dough out evenly and with a very tiny biscuit cutter cut 50 rounds, re-rolling the scraps until all the dough is used up. If you end up with less than 50 biscuits, your biscuits will be larger so you will have to adjust the baking time. Dip the cutter into flour before every second cut and firmly press down the dough for neat, sharp edges.
  • Arrange the biscuits into a tight group and sweep the brush with egg wash across the tops. Avoid egg drippings down the sides.
  • Arrange the biscuits on the prepared baking tray close but not touching. [The biscuits will rise up but will not spread much.]
  • Top the biscuits with the grated cheese.
  • Place the biscuits in a warm humid spot for exactly 30 minutes, not longer.
  • Meanwhile set the oven to 400F.
  • Place the biscuits in the preheated oven for approximately 15-18 minutes or until golden.
  • The biscuits will be delicious hot or cold. I knew it will go fast, so I set aside one biscuit for the next day. It sat on the counter uncovered all night, but didn’t harden or dry out. It was perfect.

1.9.17

LAYERED CRACKLING BISCUITS - LEVELES TÖPÖRTTYŰS POGÁCSA


Once again just like the Layered Biscuits these are laminated from two distinctly different dough with the addition of  finely ground crackling.

Food bloggers tend to copy without the realization that what they put out is misinformation. This often is the case when one takes on an ethnic dish without sufficient knowledge of unfamiliar ingredients or if the source of a particular food culture comes from an unauthenticated, several times removed personal experience. There are regional differences certainly, but when such basic information is routinely copied as “There are two types of Hungarian biscuits, sweet and salty.” Ahem no! It is true there are two types, but not according to flavour. One is the “omlós”, a type of buttery biscuit and the other is the “leveles”, the many layered type. They can be both leavened or unleavened, sweet or salty. Unleavened layered biscuits are generally the result of both high fat content and multiple folding. Such are the two types of Hungarian pogácsa.

LAYERED CRACKLING BISCUITS 
Dough 1:
1 cup flour
1/2 tsp salt
2 egg yolks
2 tsp fresh lemon juice
1/2 cup 14% sour cream
Dough 2:
1 cup flour
1/2 tsp salt
1/3 cup butter
1/3 cup rendered fat or lard
1 cup of crackling or 2 cups of chopped pork fat
1 egg for brushing

  • Crackling is sold in Eastern European delis. If you don’t have access to crackling, it is very simple to make it. 
  • Chop 2 cups of pork fat trimmings into small bits. Place 2 Tbsp of oil in a non stick fry pan and add the pork fat. Fry them on medium low heat until crispy.
  • Scoop the crackling out and set them aside to cool.
  • Reserve 1/3 cup from the rendered fat.
  • Next combine ingredients of the dough 1.
  • Kneed to form a dough.
  • Lightly sprinkle a sheet of parchment paper with flour.
  • Place dough 1 on the parchment and sprinkle the top with a little flour.
  • Flatten the dough by hand, or with a floured roller, and roll it into a 1/4 inch thick 14x11 inch sized rectangle. Add a little more flour if needed.
  • Set this aside.
  • In a food processor finely ground the cracklings. You can do this on a cutting board with a sharp knife but it will not be as fine.
  • Next combine ingredients of dough 2. This will be quite sticky.
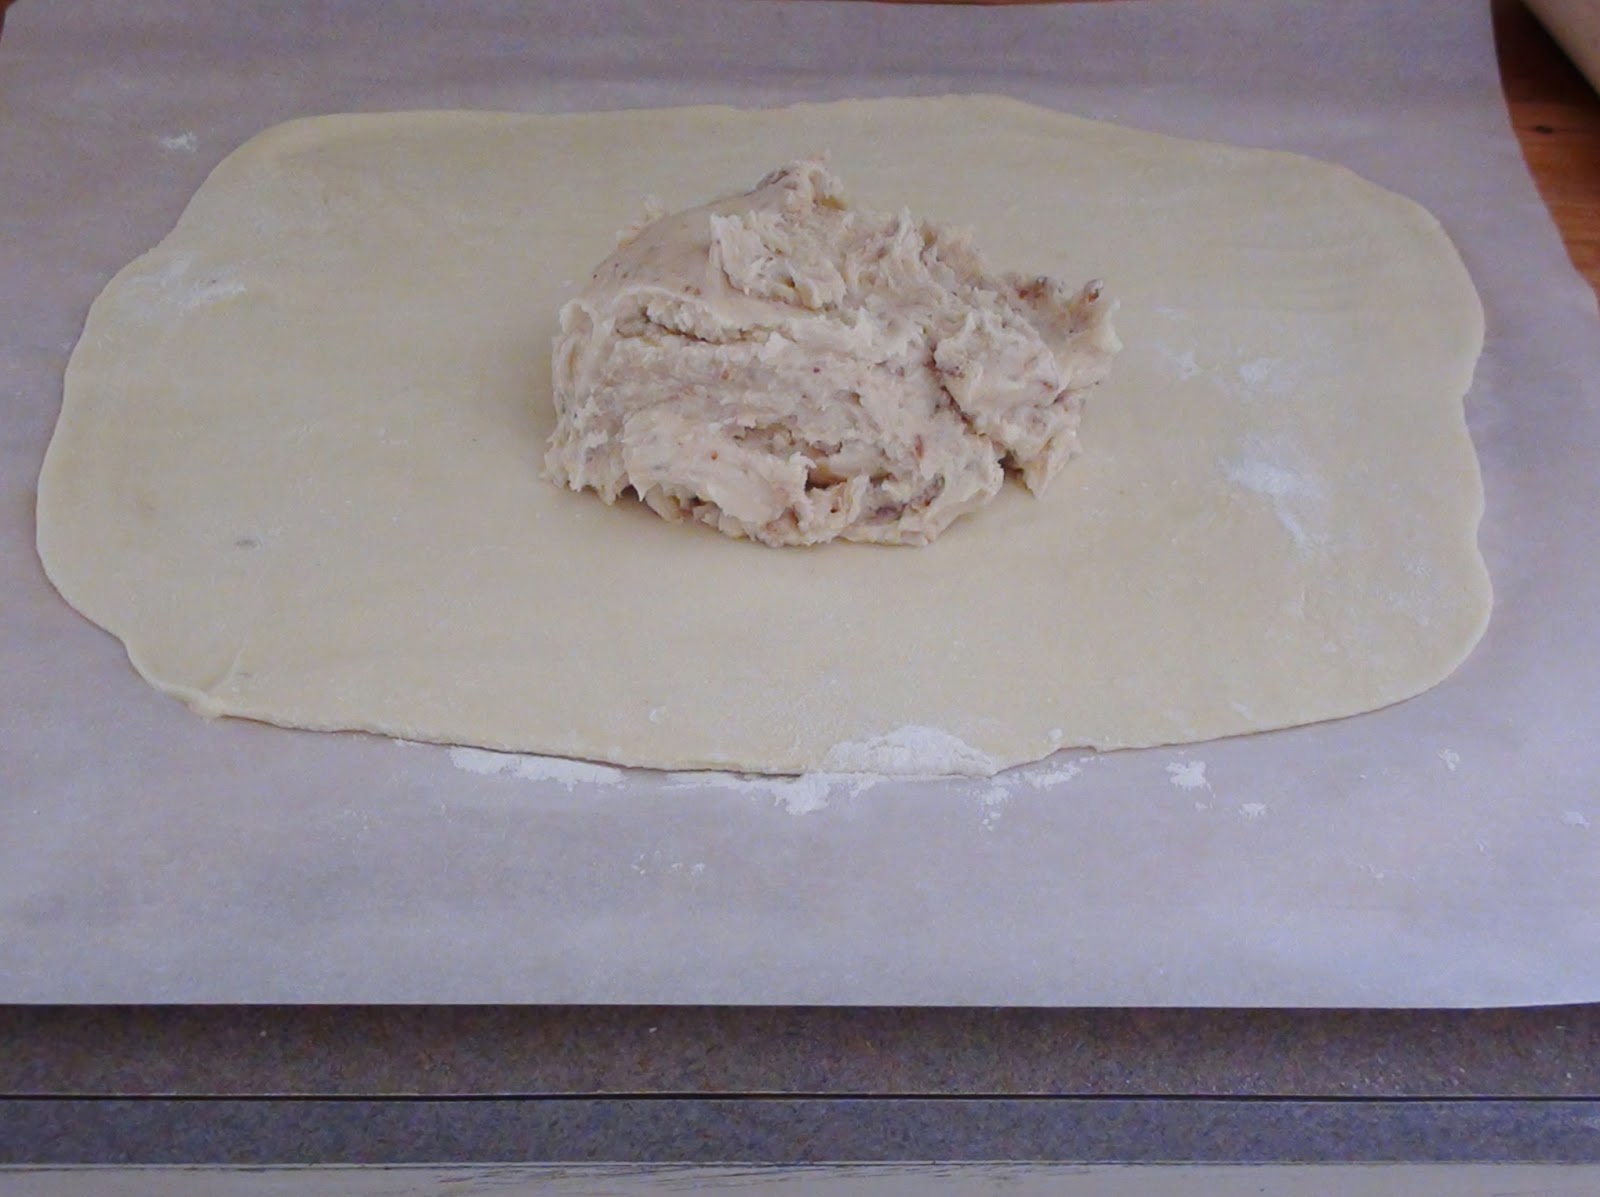
  • Place dough 2 on top of the rectangle.
  • Sprinkle a little flour on top of the sticky dough and with your hands gently spread it over the entire rectangle.
  • You can use a roller, but first lightly flour the top and cover it with plastic wrap first. Dough 2 is very sticky and will stick to the wrap an/or the roller without a flouring first.
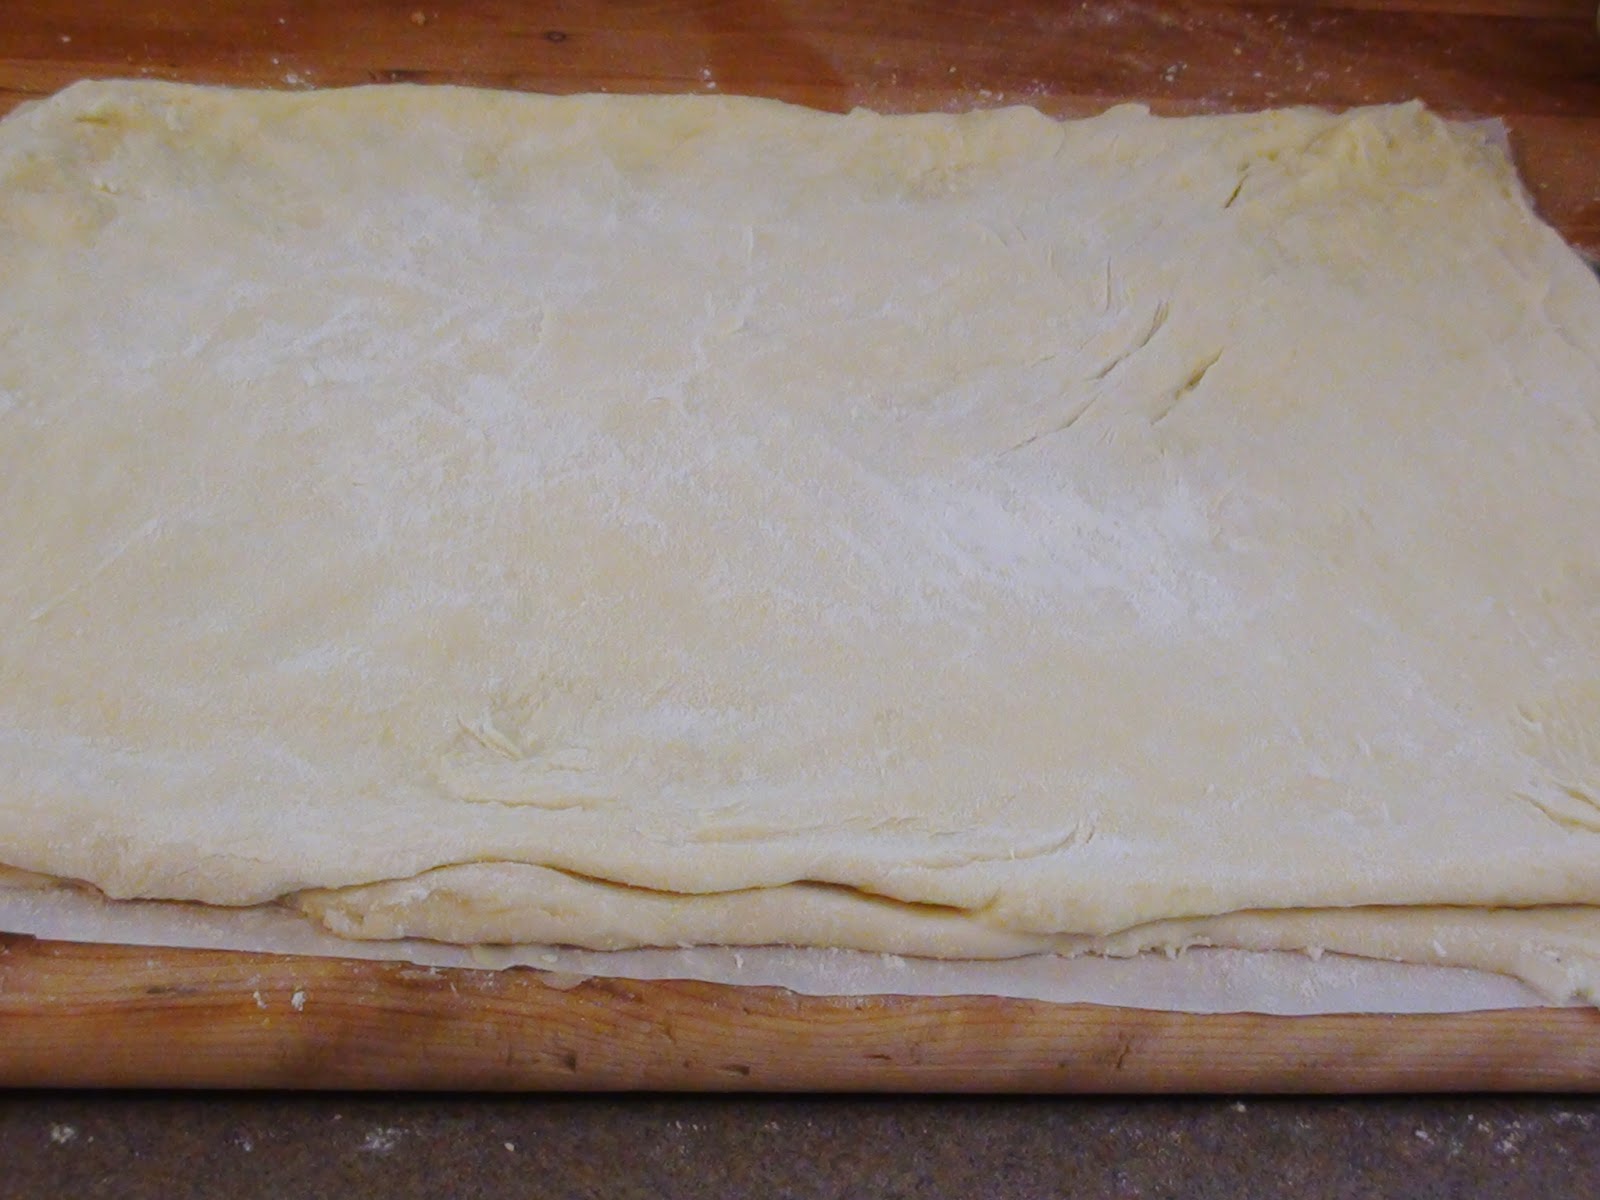
  • When the two dough layers are roughly the same size, fold the dough in three.
  • Let the dough rest for 15 minutes.
  • Do a quarter turn, sprinkle with flour and roll it out again.
  • Make sure the short side of the rectangle is always facing you before you fold.
  • Repeat the resting, rolling and the folding twice more.
  • When nearing the second rest turn the oven to slightly above 400F.
  • Line a baking sheet with clean parchment paper.  
  • After the last rest, roll out the dough to 2 finger thickness.
  • Score the top in a crosshatch pattern.
  • Brush the top with lightly beaten egg. It is important to brush the top with the egg at this stage. You don’t want the egg yolk running down the sides as this would result in leaning biscuits. The aim is to have them  straight and evenly risen. 
  • Cut out as many rounds as you can and place them on the prepared baking sheet. The size of the cutters is personal preference, you can always experiment. Personally I prefer very small layered biscuits.
  • Do not reroll the scraps, lightly guide them into a round grouping  and bake them as they are. The resulting pull-apart is every bit as tasty as the biscuits.
  • Place them in the preheated oven.
  • Bake until the tops are golden brown.


31.8.17

LAYERED BISCUITS - LEVELES POGÁCSA

The queen of pogácsa [po-gah-tcha] is layered!  Pogácsa is uniquely eastern European with no exact word for it in English. Hence the different translations. So then what are they? Are they scones, biscuits, lardcakes, puffs? Well not quite. But for convenience let’s just call them “biscuits”.

Layering in this case is laminating two different types of dough together with repeated folding and resting. The biscuits puff up in the high temperature and the result is a tray of addictively salty treat. Don’t make too much though, pogácsa is not a lengthy keeper.  

LAYERED BISCUITS
Dough 1:
1 cup flour
1/2 tsp salt
2 egg yolks
2 tsp fresh lemon juice
1/2 cup 14% sour cream
Dough 2:
1 cup flour
1/2 tsp salt
1/3 cup butter
1/3 cup lard
1 egg for brushing

  • In a medium bowl combine ingredients of the dough 1.
  • Kneed to form a dough.
  • Lightly sprinkle a sheet of parchment paper with flour.
  • Place dough 1 on top and sprinkle the top with a little flour.
  • Flatten the dough by hand, and with a floured roller, roll it into a 1/4 inch thick 14x11 inch rectangle. Add a little more flour if needed.
  • Set this aside.
  • Next combine ingredients of dough 2.
  • This will be sticky. Place it on top of the dough rectangle.
  • Sprinkle a little flour on top of the sticky dough and with your hands gently spread it over the entire rectangle.
  • You can use a roller, but first lightly flour the top and cover with plastic wrap. Dough 2 is very sticky and will stick to the wrap an/or the roller without a light sprinkle of flour.
  • When the two dough layers are roughly the same size, fold the dough in three.
  • Let the dough rest for 15 minutes.
  • Do a quarter turn, sprinkle with flour and roll it out again.
  • Make sure the short side of the rectangle is always facing you before you fold.
  • Repeat resting and folding twice more.
  • When nearing the second rest turn  the oven on to slightly above 400F.
  • Line a baking sheet with clean parchment paper.  
  • After the last rest, roll out the dough to 2 finger thickness.
  • Score the top in a crosshatch pattern.
  • Brush the top with lightly beaten egg. It is important to brush the top with the egg at this stage. You don’t want the egg yolk running down the sides of the biscuits, this would result in much leaning. The aim is to have straight, evenly risen biscuits. 
  • Cut out as many rounds as you can and place them on the prepared baking sheet. The size of the cutters is personal preference, you can always experiment. Personally I prefer medium sized biscuits.
  • Do not reroll the scraps, lightly guide them into a round grouping  and bake them as they are. The resulting pull-apart is every bit as tasty as the biscuits.
  • Place them in the preheated oven.
  • Bake until the tops are golden brown.
  • These are best fresh. Store leftovers on a tray, covered with a clean serviette.
  • Do not store these biscuits in a plastic container. Do not reheat.


21.4.16

TINY SALTY TEA BISCUITS - SÓS APRÓ TEASÜTEMÉNY

Before potato chips burst onto the market these tasty morsels used to be the quintessential appetizers at large gatherings, home parties and even at modest wedding banquets at restaurants. Much like mine was many years ago in Budapest, with close family at a good, but not overly posh restaurant.

Coffee houses used to sell them by the kilo, they were good and reasonably priced. Nobody I knew would even think of making them. It might be different now; the last time I visited the old country was back in 1990. 

These are extremely simple to make and they last well... if they last. It is best to make the dough in a stand mixer, avoid touching the dough by hand. I didn’t get too fancy with the shaping, but you can cut rounds, half moons and triangles. The topping can vary: different types of seeds, caraway and poppy or various types of grated cheese will give them an entirely different flavour. 

TINY SALTY TEA BISCUITS
3/4 cup butter
2 cups flour
1 tsp instant yeast
2 egg yolks
1/2 tsp salt
1/4 cup sour cream + 1 Tbsp
1 egg for brushing, lightly beaten
1/8 cup sesame seeds
1/4 cup grated parmesan

  • Combine the butter with flour and yeast in a stand mixer.
  • Don’t whip, knead or over mix. Make sure the beater is on slow speed at all times.
  • Add the egg yolks, sour cream and the salt and stir to combine.
  • On lightly floured cutting board, roll the dough into a ball.
  • Press down and shape into a square about the thickness of your fingers.
  • Brush with egg and place in the freezer for 10 minutes. Dough should be stiff but not fully frozen.
  • Meanwhile turn the oven to 450F and line a rimless cookie sheet with parchment paper.
  • Remove the stiff dough and place it onto the prepared cookie sheet.
  • Divide the dough in two parts for two types of toppings. I used sesame seeds and grated parmesan.
  • Again, brush with egg yolk and douse the tops with the toppings. 
  • Shake off the excess toppings and with a sharp chef’s knife cut into squares or rods or any other shape desired. The most economical shapes are squares and rods.
  • Separate the biscuits leaving a little room for expansion.
  • Bake the biscuits in the preheated oven for 15 minutes or until the tops are golden.
Note: the original recipe called for an inordinate amount of salt, I reduced it by half and still I found the biscuits too salty. The second time I only used 3/4 tsp and it was perfect.

There are endless recipes of salty tea biscuits, the following video shows the process really well.


19.12.15

HAPPY NEW YEAR - BOLDOG ÚJ ÉVET

The iconic roasted piglet, the laughing chimney sweep and the bubbly champagne existed only on greeting cards. The New Year’s Eve celebrations of my youth took place in Zugló at my relatives’ home party. Fireworks and street parties were not known during the communist era; those types of festivities are recent developments. Food was always central in Hungarian celebrations and New Year’s Eve was no different. 

The party started at 8:00 PM with the TV Szilveszteri Kabaré. 

Shortly thereafter, the aunts brought in a tray of piping hot töpörtyűs pogácsa.
       
Around 11:PM we ate frankfurters with bread, horseradish and mustard.

After the countdown, the National Anthem played. 
 We kissed and the grownups shed a few tears.

                      Then we drank bólé and danced  

At dawn, we walked down to the Erzsébet Királyné and Fűrész Utca corner, 
  got on the first streetcar of the New Year singing and laughing all the way home.

On New Year’s Day we ate cabbage rolls, pork jelly or lentil soup. Lentil and pork was essential to bring health, wealth and good luck for the New Year. My food list is both typical and personal. People partaking in large, posh parties would have a very different list of foods with caviar crepes, suckling pig and drunkard soup. A cold wave is coming down from the North and drunkard soup is in my plans to make. As for the rest... I shall leave those to the imagination.

CABBAGE ROLLS - TÖLTÖTT KÁPOSZTA 


11.12.15

POTATO BISCUITS – KRUMPLIS POGÁCSA

“Once upon the time the young man left home to try his luck in the world. He took nothing along except a bundle of “hamuban  sült pogácsa” (savory biscuits baked in ash) tied to the end of his walking stick.” Thus starts many Hungarian fairytales. To this day when young people graduate, they carry a small haversack with pogácsa. The day I left Hungary my grandmother handed me a bag of pogácsa. She said in case I got hungry on the way. When my plane landed in Vancouver I still had a couple left in the bag. Grandmother's pogácsa came with me to the New World.

Pogácsa was a staple in Hungarian bakeries; even the most prestigious coffee houses in Budapest had their signature pogácsa. Drunks liked it too; there was no kocsma [pub] without beer and pogácsa. The version with the pork crackling was always part of our New Years Eve festivities. There was a pogácsa at every crossroads of life, pogácsa for the “grey weekdays”; as no bureaucratic meeting could go without water and pogácsa. Pogácsa varieties are endless. Some are to die for and then there are the “dry pain” types. Pogácsa is best on the first day, but the real good ones are good for several days thereafter. This one is one of those. Make it ahead, prepare it for baking and freeze. Thaw it out just before the party, and just pop them in the oven. Put it on trays and watch it disappear. 

POTATO BISCUITS
480 g potatoes
1-3/4 cups butter
1-1/2 Tbsp salt
4-1/2 tsp instant yeast
3 extra large or 4 large egg yolks
5-1/3 cups flour
1 egg yolk for glazing the tops

  • First, cook the potatoes in the microwave or over steam. It is much quicker in the microwave.  Don’t cook them in water, they will absorb too much moisture that way.  
  • Peel and dice the potatoes.
  • Place in a heatproof bowl.
  • Add 1/2 cup of water.
  • Place the bowl in the microwave and cover with a sheet of paper towel.
  • Microwave or steam the potatoes until tender.
  • With an oven mitt, remove the bowl from the microwave.
  • Using a large sieve, immediately drain the potatoes.
  • Transfer the potatoes to a large bowl and let them cool to room temperature. 
  • Once the potatoes have cooled down, mash them truly.
  • Add the soft butter, salt, instant yeast and the egg yolks to the mashed potatoes.
  • Using a large wooden spoon, combine the ingredients.
  • The last ingredient to add is the flour. The reason for this is you don’t want the egg yolks to bind to the flour.
  • Kneed the dough until uniform in consistency.
  • Line a small tray with parchment paper; flatten the dough on it to 2 cm thickness.
  • Wrap the tray with plastic and place it in the fridge overnight. 
  • Next day divide the dough to 2 or 3 parts.
  • Place the first batch on a board. Rewrap the rest of the dough and return it to the fridge.
  • Cut or rip the dough into smaller pieces. That way they will warm up faster and uniform.
  • Let the dough pieces sit for 5-10 minutes and then kneed each piece until pliable. At the end, combine the pieces.
  • Roll the dough out [no need to flour the board] evenly to 1 cm thickness.
  • Score the top crisscross with a chef’s knife.
  • Dip a small round cookie cutter into flour and firmly cut as many rounds into the dough as you can fit. It is important to dip the cookie cutter into the flour before each cut.
  • Gather the scraps, kneed and reroll the dough. Repeat the scoring and the cutting.
  • When all the dough used from the first batch, line them up side by side and baste the tops with egg yolk.
  • Arrange the rounds on the prepared baking sheet and let them rest for 30 minutes, no longer.
  • Meanwhile preheat the oven to 425F.
  • After resting bake for 15-25 minutes, depending on the size and the amount you are baking.


16.8.15

KILLER PEANUT BUTTER CAKE

I don’t even like peanut butter, but I loved this cake! Adapted from the The Daring Gourmet, I dare you to find a better Peanut Butter Cake. I cut the frosting in half and spread half a batch of ganache on the top. It turned out to be a well balanced and superbly composed cake. 

It is well worth to buy full fat buttermilk. It gives superior crumb to cakes. “Homemade” buttermilk from 1% or skim milk and vinegar may look like buttermilk, but it won't be buttermilk. Leftover buttermilk can always be used in place of milk in biscuits and breads. As for the peanut butter, Adams brand has one ingredient; peanuts. If you cannot get Adams, some other brand of natural, unsweetened peanut butter may be used.

KILLER PEANUT BUTTER CAKE
Cake:
1-1/2 cups all-purpose flour
2 tsp baking powder
1/2 tsp baking soda
1/2 tsp salt
1/3 cup vegetable oil
1/3 cup smooth Adams Peanut Butter
1 cup brown sugar
2 large eggs
1 cup buttermilk
1 tsp pure vanilla extract
Frosting:
1/4 cup smooth Adams Peanut Butter
1/3 cup unsalted butter, softened
1-1/2 cups icing sugar
1/8 cup heavy cream
Ganache:
1/2 batch of ganache

  • Preheat the oven to 350F.
  • In a medium bowl whisk together the flour, baking powder, baking soda and salt. Set aside.
  • In a large mixing bowl, add the peanut butter, oil, and brown sugar.
  • Beat until very creamy.
  • Add the eggs and vanilla extract and beat well.
  • With a wooden spoon fold in the flour mixture into the peanut butter mixture. Do not beat with the flour or the cake will be dense and dry.
  • Line a 9 inch spring form round cake pan with parchment paper.
  • Pour the batter into the pan.
  • Bake for about 30 minutes or until the middle of the cake springs back.
  • Let the cake sit in the pan for 5 minutes, then remove the ring and let the cake cool on a wire rack completely.
  • In the meantime make the frosting and the ganache.
  • Beat the peanut butter and the butter until smooth and frothy.
  • Gradually add the icing sugar and the heavy cream.
  • Beat frosting for 5 minutes.
  • Cut the cooled cake in half horizontally.
  • Frost the bottom half of the cake.  
  • Place the top layer of the cake, on top of the bottom layer.
  • You will have just enough frosting left to frost the sides.
  • Pour the cooled ganache on the top and spread.
  • Chill the cake.
  • When the ganache is solidified, slice the cake with a chef’s knife, wiping the blade between cuts. Always cut chilled and serve at room temperature.

9.1.12

BUTTERY CRACKLING BISCUITS – OMLÓS TÖPÖRTYŰS POGÁCSA

The Hungarian biscuit that uses crackling is delicious and in Hungary no New Years Eve celebration  is complete without it. The biggest obstacle to making it is getting hold of is raw bacon, a type of thick fat. Where I live the only place to obtain pork fat is from an independent butcher who cures his own sausages. Then again, you have to plan and order the pork fat and depending on when the butcher makes his sausages or gets new supplies you may have to wait if, all he has is fifty pounds of solidly frozen pork fat in his freezer. You could luck out, but don’t count on it. It is not possible to make descent crackling from bacon or salted pork. The taste will be very different and the result is simply not worth the effort. Finally I got hold of a little bit of pork fat, not the 2 inch slab my grandma made her crackling from, but after cutting away the membrane layers I had enough pork fat left to make some crackling. The added bonus is I also have some lovely homemade lard.

BUTTERY CRACKLING BISCUITS 
4-1/2 cups flour [measured with 1/2 cup sweep method]
1/2 cup homemade lard
salt to taste
2-1/4 tsp dry instant yeast [1 pkg]
2 cups finely chopped crackling
1 egg
1/2 cup white wine
1 cup + 2 Tbsp full fat sour cream
ground pepper to taste
1 egg yolk for brushing

• Make the crackling first. Reserve the melted lard and finely chop the crackling.
• Add 4-1/2 cups of flour to a large mixing bowl.
• Add the lard and rub it into the flour.
• Add the salt and mix it into the flour. Taste it, it should be pleasantly salty.
• Add the dry instant yeast.
• Whisk to combine.
• In a separate bowl, whisk together the egg, the wine and the sour cream.
• Add to the dry ingredients and mix to combine.
• Place dough on a board and kneed smooth. Dough should be pliable and soft.
• Cover and let the dough rest for 30 minutes.
• Roll out dough fairly thin.
• Scatter 1 cup of finely chopped crackling on the top.
• Press the crackling into the dough and fold up like an envelope.
• Cover dough and rest for 20 minutes.
• Repeat procedure, roll out dough again and scatter 1 cup of crackling on the top.
• Press the crackling into the dough.
• Sprinkle with ground pepper. The amount of ground pepper used is up to individual preference.
• Fold up dough like an envelope.
• Cover dough and rest for 20 minutes.
• Line a baking sheet with parchment paper.
• Roll out dough to a 12 by 9 inch rectangle and score the top with a knife. [Do not cut through]
• Cut into rounds with a small biscuit cutter.
• Re roll the dough scraps and cut more rounds.
• Place the biscuits on the prepared baking sheet.
• Spread the tops with the egg yolk.
• Let rest for twenty minutes.
• Meanwhile set the oven to between 400 and 425F.
• Bake the biscuits in the preheated oven until golden.
• These are best on the day they are made.


9.12.11

FLAKY LARDY BISCUITS - LEVELES ZSÍROS POGÁCSA

Pogácsa is a great alternative to the sweet stuff served around Christmas and New Years. I made two kinds, half of it plain and the other half with cheese. Planning ahead of time as well as using two types of fat is important. Most pogácsa contains yeast, and yet they should not rise except when baking in the oven. Like most biscuits, pogácsa is best hot out of the oven, but they freeze quite well. 

When I immigrated to Canada, I brought my grandmother’s pogácsa with me. Aun’t Lizi was waiting for me with a fancy dinner in Vancouver. I stopped over in Vienna for three days so the pogácsa was quite hard by then. I was just about to discard my week old pogácsa when my aunt grabbed the bag away from me and ignoring the lovely meal she was about to put on the table sat down and devoured the pogácsa. Then at the meal, which was incidentally quite lovely, it hit me that henceforth nothing will ever taste like home again.

FLAKY LARDY BISCUITS
4 cups flour
1 Tbsp quick rise yeast
1/2 cup butter
1/2 cup lard
salt to taste
2 eggs
1 cup sour cream [not light]
1-1/2 Tbsp butter, soft
1 cup hard cheese, grated
1 egg for egg wash

• Place the flour in a large mixing bowl.
• Add the yeast.
• Add the butter and the lard.
• Crumble the fats into the flour.
• Add the salt. Taste it, the dough should be mildly salty.
• Add the eggs and the sour cream.
• Combine to form elastic dough.
• Divide dough into two parts.
• Roll out the first dough very thin. It can be a rectangle or a circle or something in between. What shape it is does not matter.]
• Lightly butter half of the rolled out dough. You now have 2 layers of dough.
• Fold the empty side over the buttered side.
• Again, lightly butter half of the folded dough.
• Again, fold the empty side over the buttered side. You now have four layers of dough.
• Wrap it up with plastic wrap and refrigerate overnight.
• Roll out the remaining dough.
• Sprinkle half of the rectangle with the 2/3 cup of the grated cheese.
• Fold the empty side over the cheese.
• Again, sprinkle half of the dough with the remaining cheese.
• Again, fold the empty side over the cheese.
• Wrap the dough with plastic wrap and refrigerate overnight.
• The next day, preheat the oven to 375F.
• On a lightly floured board, roll out the dough 3/4 inch thick.
• With a sharp knife cut slightly into the dough in a diamond pattern.
• Cut into rounds with the smallest biscuit cutter [1-1/4 inch diameter].
• Place the rounds on the parchment lined baking tray.
• Brush the tops with egg wash and bake in preheated 375F oven until light golden brown.
• Meanwhile set aside the leftover strands of dough for use later. Do not re-roll into biscuits. 
• Cheese pogácsa will be ready first. Remove these and place them on a cookie rack to cool.
• Return plain pogácsa to the oven until tops are golden brown.
• Makes 36

To Use Leftover Dough
• Shape leftover dough into thin strands, cut with a pizza cutter, brush with egg wash and lightly sprinkle with sea salt and/or with leftover grated cheese.
• Bake these too at 375F until golden brown. 

13.1.11

COTTAGE CHEESE BISCUITS - COTTAGE CHEESE POGÁCSA

The original recipe calls for túró, but since túró is not readily available in Canada, I replaced the túró with cottage cheese. The whey has to be removed first; otherwise the recipe will not work. This is a delicious pogácsa and is well worth the extra little bit of effort.

*Start with a 500 g tub of good quality cottage cheese. To remove the whey from the cottage cheese, place a fine sieve over a bowl. Put 1-1/2 to 2 cups of cottage cheese into the sieve and let the whey collect in the bowl below. Let it drip for a couple of hours or longer. Discard the whey or save it to put back with any leftover cottage cheese. 

COTTAGE CHEESE BISCUITS
2 cups flour
1 cup cottage cheese with whey removed*
1 cup butter
1 egg yolk
6 g instant dry yeast
10 g salt

• Combine and knead the ingredients thoroughly.
• Cover the dough and let rest in the fridge for 20 minutes.
• Preheat the oven to 400F.
• Roll out the dough very thin. [It can be a rectangle or a circle or something in between. What shape it is does not matter.]
• Brush half of the rolled out dough thinly with egg yolk.
• Fold the empty side over the egg brushed side.You now have 2 layers of dough.
• Again lightly brush half of the folded dough with the egg yolk.
• Again, fold the empty side over the buttered side. You now have four layers of dough.
• Next roll out the dough 1/2 inch thick and cut out the biscuits with the smallest biscuit cutter you have.
• Brush the biscuits with egg.
• Let them rest for 10 minutes.
• Bake at 400 F for 20-30 minutes until light golden brown.


Privacy & Cookies

This site uses cookies. By continuing to use this website, you agree to their use. To find out more, including how to control cookies, see here: Cookie Policy

Translate

me

My photo
It began with posting a few recipes on line for the family. "zsuzsa is in the kitchen" has more than 1000 Hungarian and International recipes. What started out as a private project turned into a well visited blog. The number of visitors long passed the two million mark. I organized the recipes into an on-line cookbook. On top of the page click on "ZSUZSA'S COOKBOOK". From there click on any of the chapters to access the recipes. For the archive just scroll to the bottom of the page. I am not profiting from my blog, so visitors are not harassed with advertising or flashy gadgets. The recipes are not broken up with photos at every step. Where needed the photos are placed following the recipe. Feel free to cut and paste my recipes for your own use. Publication is permitted as long as it is in your own words and with your own photographs. However, I would ask you for an acknowledgement and link-back to my blog. Happy cooking!