Even though I seldom end up using the exact amounts suggested in a recipe, for me the most telling part is the ingredient list. If or when I read the preparation and eliminate the superfluous steps, sometimes a completely different recipe emerges. It may even look the same, but the taste will be different. That is why in the comment sections one may see “this was simply the best” and someone else will call it “the worst recipe ever”. It’s not just that people like different things, no two people will make the same recipe exactly the same way.
The difficulty with stacked recipes is unifying the ingredients. That’s when the leftovers are better than the day before; time brought the flavors together. In this case, merging all the disparate parts elevates the humdrum to a flavor packed, delightful dish. But you have to follow the steps as laid out below.
Garlicky Pork Cutlets with Broccoli
1 Tbsp oil for the baking pan
1/2 head of broccoli florets
4 to 6 garlic cloves
1 medium onion
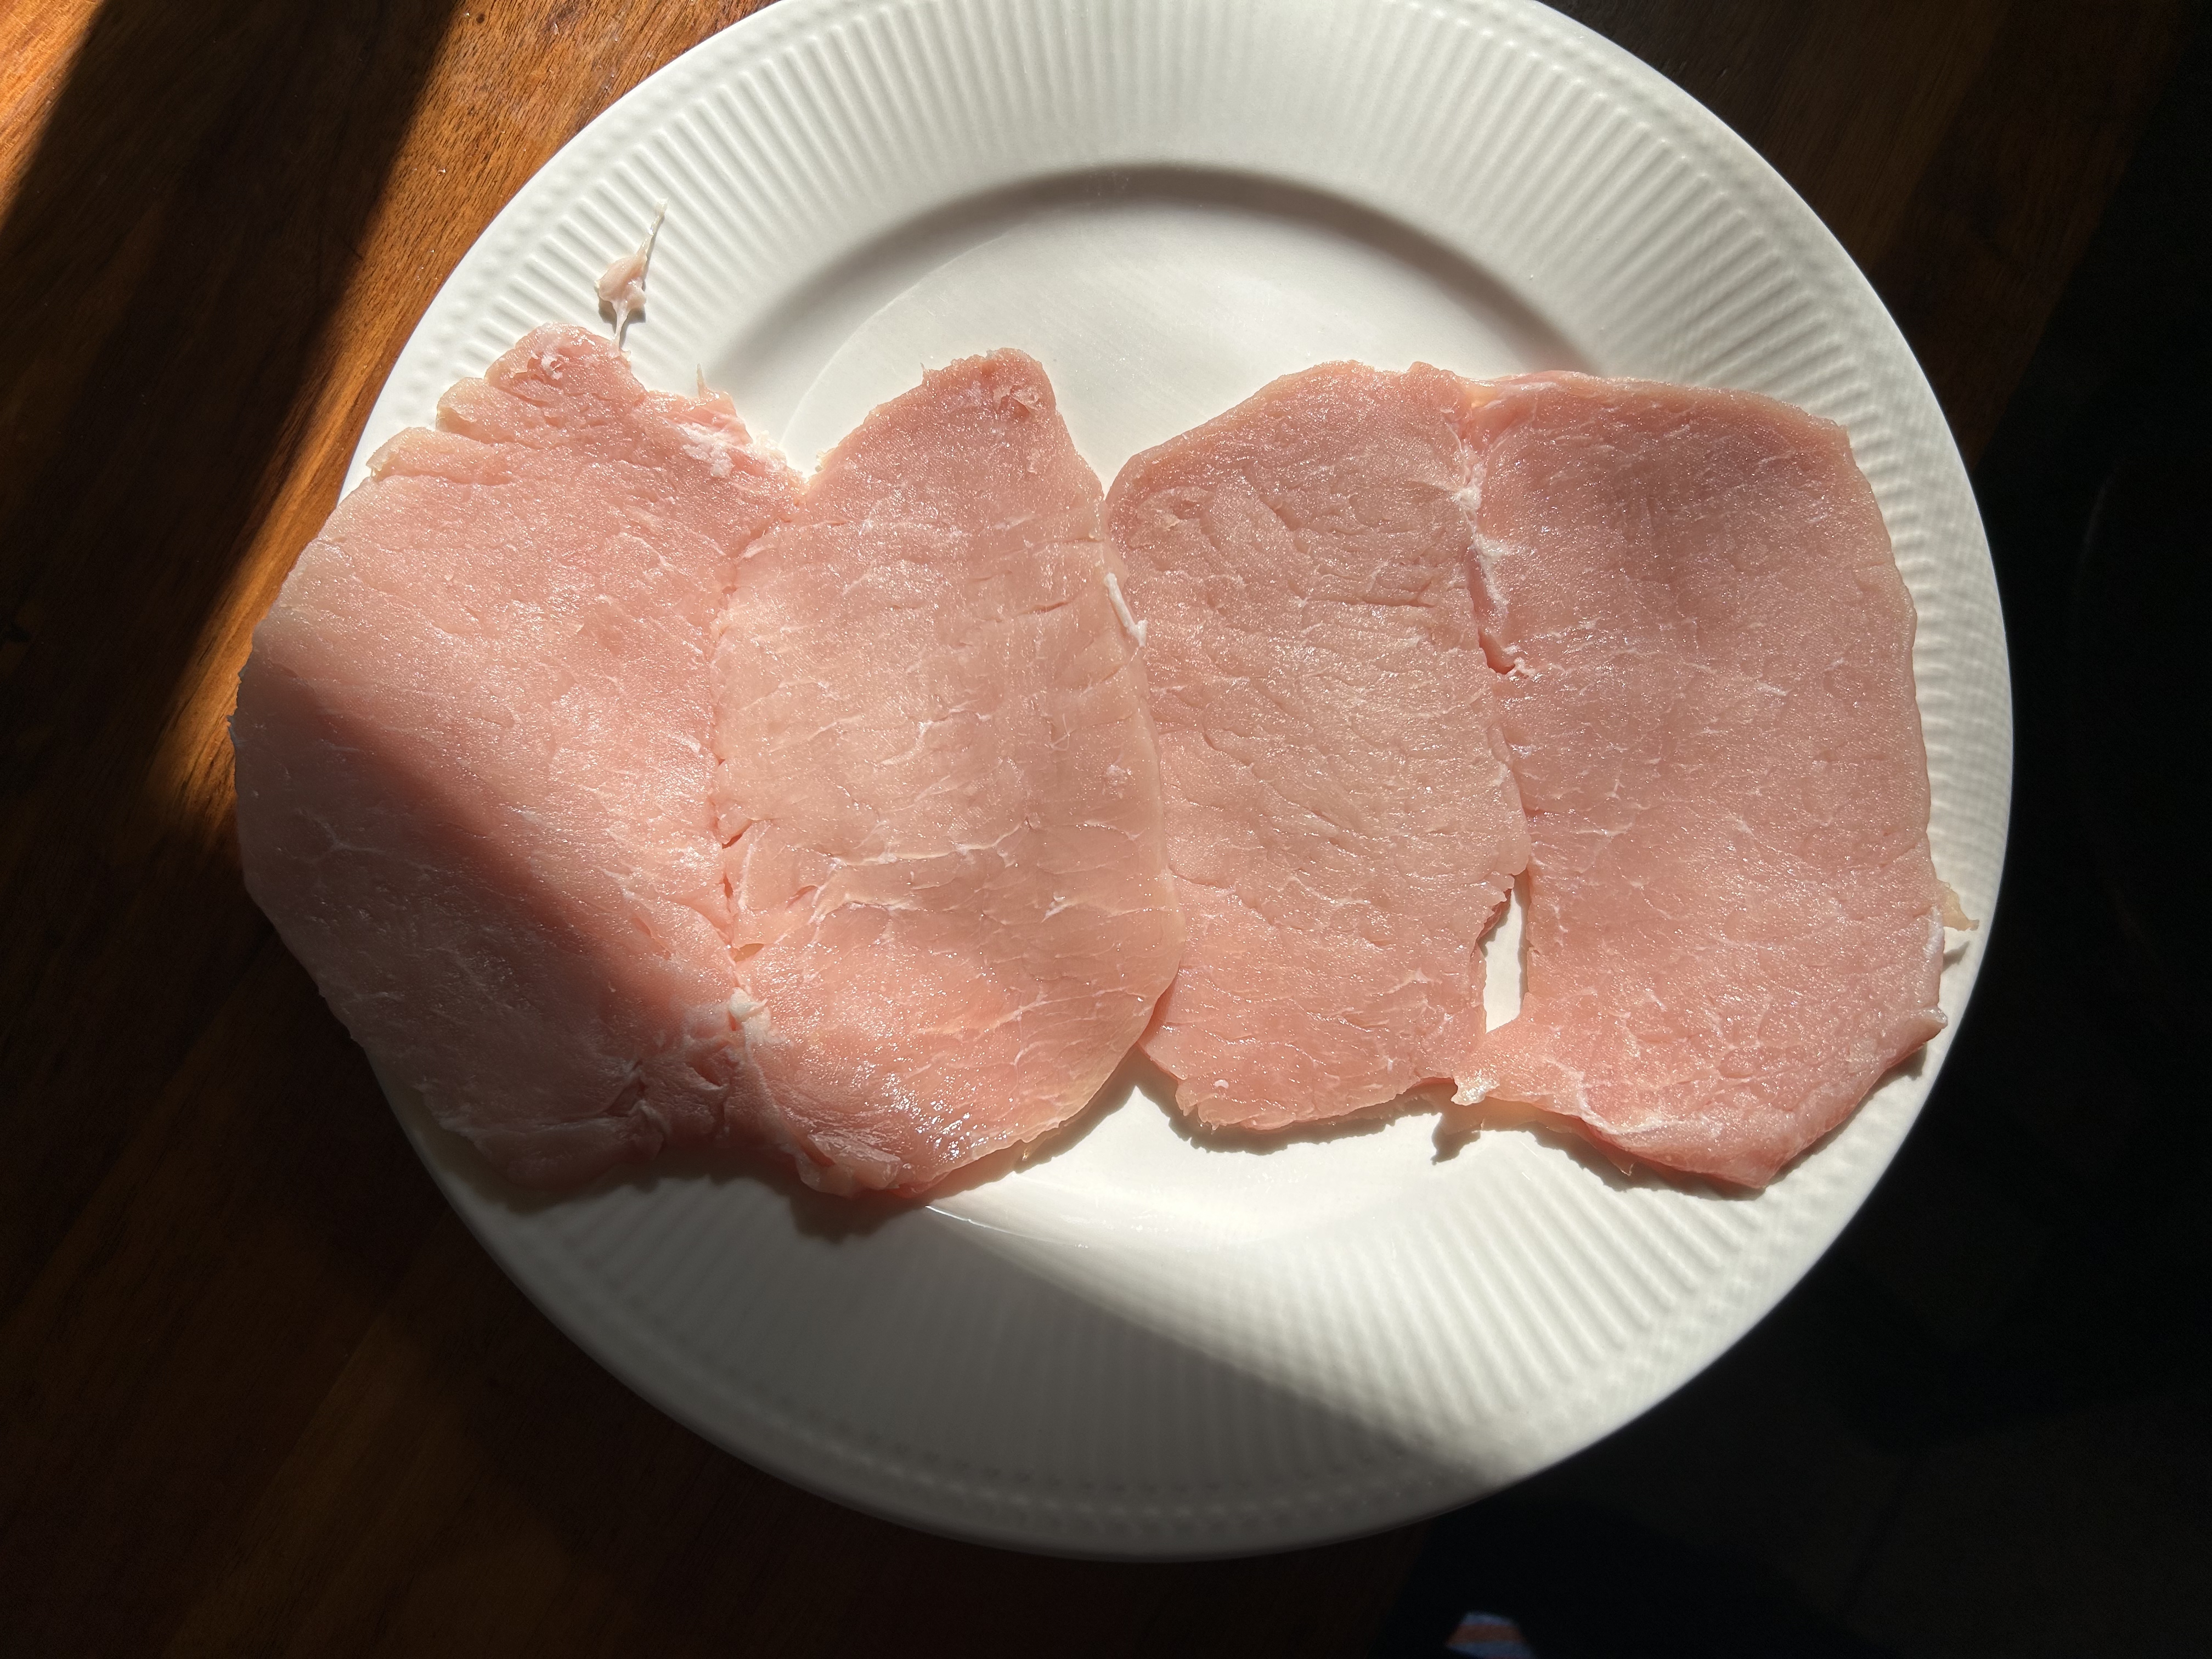
4 pork cutlets
salt and ground black pepper to taste
1/8 cup flour
1/4 cup + olive oil
1/4 cup butter
2 Tbsp flour
1/2 cup milk
1/2 cup heavy cream
• Preheat oven to 400F.
• Oil a baking dish and set it aside.
• Wash, separate and thinly slice the broccoli florets lengthwise and set them aside.
• Clean and thinly slice the garlic and set them aside.
• Slice the onion and set it aside.
• Pound the cutlets thin between layers of plastic wrap.
• Season with salt and pepper to taste.
• Roll them into 1/8 cup flour and discarding the remaining flour.
• Next place a large sauté pan on medium heat.
• Add 1/4 cup oil or more to cover the entire bottom of the pan.
• Add the garlic and slow fry until fragrant.
• Scoop out the garlic and set it aside.
• Add the onions to the pan, sprinkle lightly with salt and sauté, turning it over to just to sear it.
• Push the onions to one side of the pan and add the cutlets.
• Slow fry the cutlets on both sides for 2 minutes.
• Remove pan from heat.
• Transfer cutlets to the prepared baking dish.
• Arrange the onions on top and pour the remaining oil from the pan over the stacks.
• Cover with aluminum foil and place in the preheated oven and bake until the cutlets are tender.
• Meanwhile arrange the broccoli florets on a pasta plate and sprinkle with salt lightly.
• Add 1/2 cup of water.
• Place the plate of broccoli florets in the microwave and cover.
• Microwave the broccoli for 2-3 minutes to partially cook, just until bright green.
• Remove the plate and set it aside as is.
• In a small bowl make slurry from the flour and the milk and set it aside.
• Place the sauté pan back on medium heat and add the reserved garlic and the partially cooked broccoli florets, reserving the broccoli stock in the pasta plate.
• Roll the broccoli florets into the garlic and oil in the pan for a couple of minutes.
• Remove broccoli from the pan and set it aside.
• Add the butter to the pan.
• When the butter melted add the reserved broccoli stock and the slurry and slow cook until sauce is thickened.
• Stir in the heavy cream.
• Taste the sauce and adjust the salt.
• When the cutlets are ready, remove the foil and set the baking dish on top of the stove. Don’t turn off the oven.
• Divide the broccoli florets on top of the cutlet stacks.
• Spoon the prepared sauce over the stacks and return to the oven uncovered until the top begins to get a bit of color, but the broccoli florets sticking out from under are still green and serve.